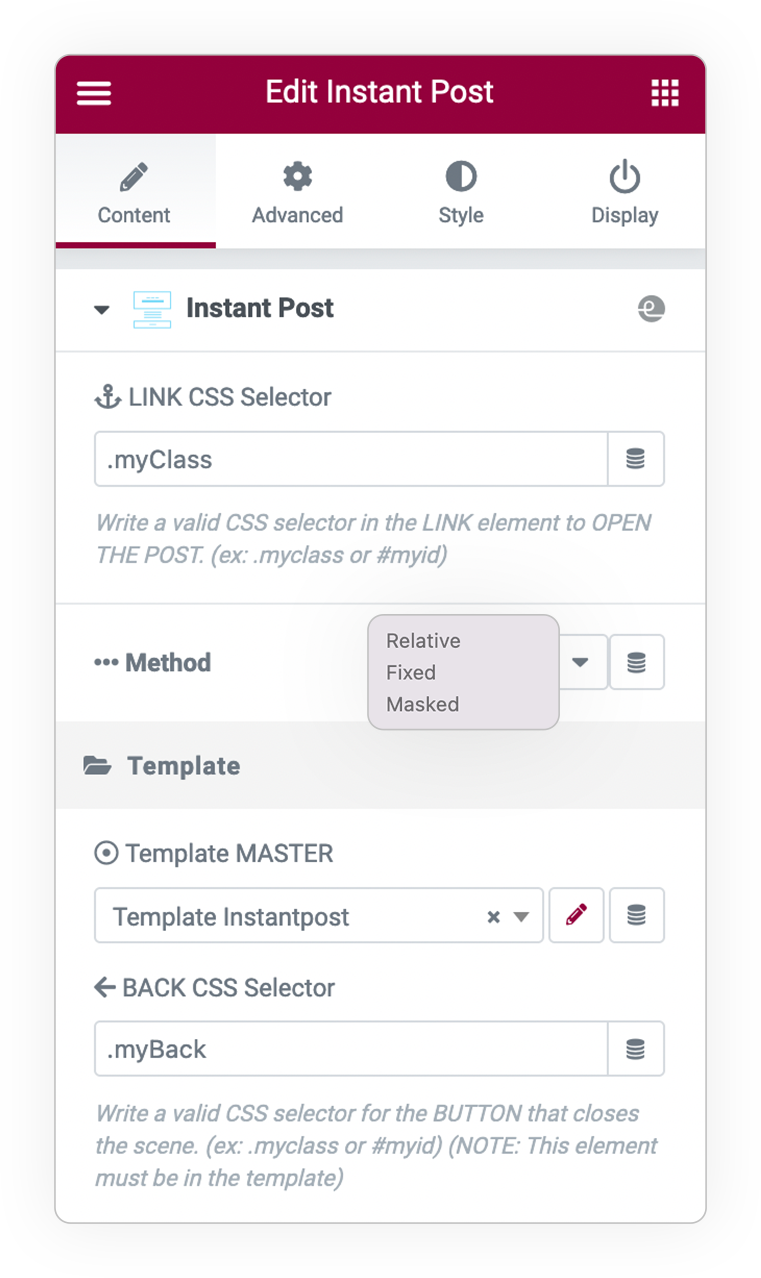
1
Assign a Class or ID to the element that generate the operation
2
Associate the graphic Template that will use the data of the page to be opened
3
The method of opening the content
Instant Posts
First of all, define a Class or ID (tab advanced) to the elements that will open the page, the mechanism will read the a-href inside and manage the loading of the content based on an associated Template.
You have 3 opening METHODS:
Relative (inside the page corresponding to the widget itself)
Fixed (In overlay as if it were a modal)
Masked (a clippath circle will reveal the contents)
Furthermore, if and in the template you define an element with Class or ID (from Advanced tab) this will manage the BACK to the initial state.
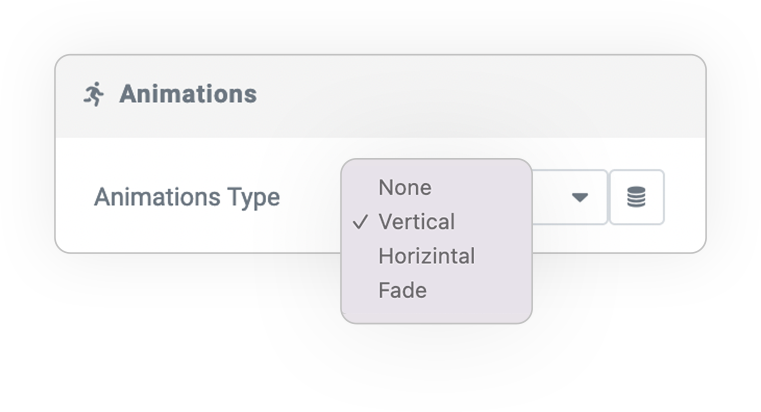
Animations
In case of Relative or Fixed it is possible to indicate the direction of the animation for how the content will appear.
- None
- Vertical
- Horizontal
- Fade
Options
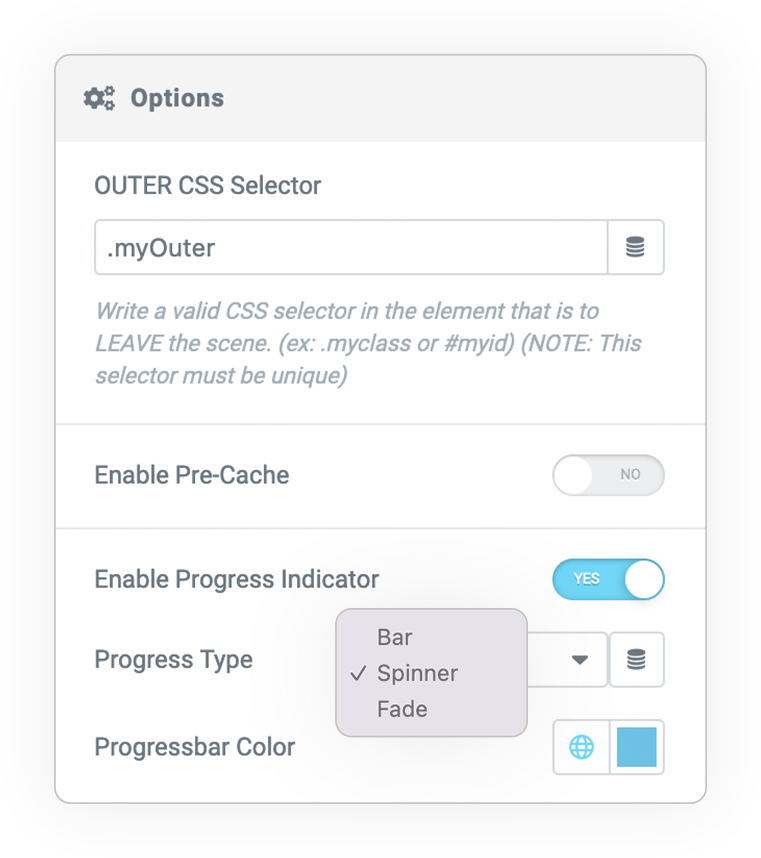
More options available:
Outer Class
This is the container or section that will leave the scene after clicking on the element (link) that opened the page.
Pre-cache
To increase the viewing speed preload the content. Otherwise the content will be loaded on click.
Progress indicator on loading
If you have pre-caching enabled, a graphic element indicates the upload status.
DEMO
Basic Demo
Click on the post to see Instant-Post in action, the back button returns to its initial state, while the prev-next arrows scroll between adjacent posts.


 e-User Interface

