PhotoSphere panorama 360
Mode
There are two ways of viewing the image.
Single Panorama
A simple image panorama based on Photosphere 360
HotSpots
More complex is the Photosphere 360 with link or information markers
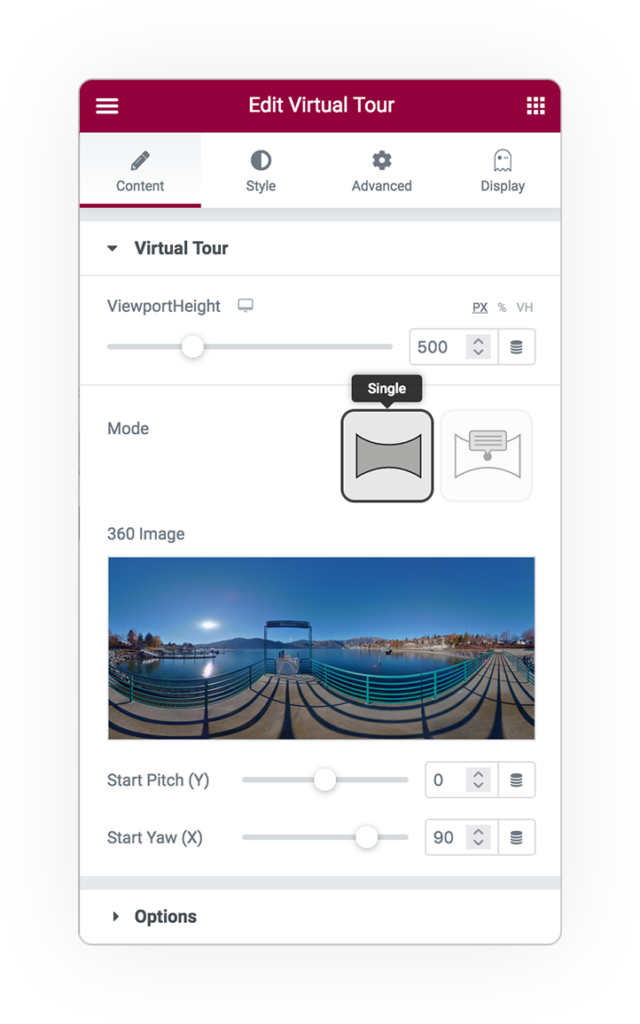
PhotoSphere 360
The height of the viewport.
Mode:
- Single Panorama
- Hotspots
To configure the scenes you need:
- The Photosphere image
- The main landing point
HotSpots
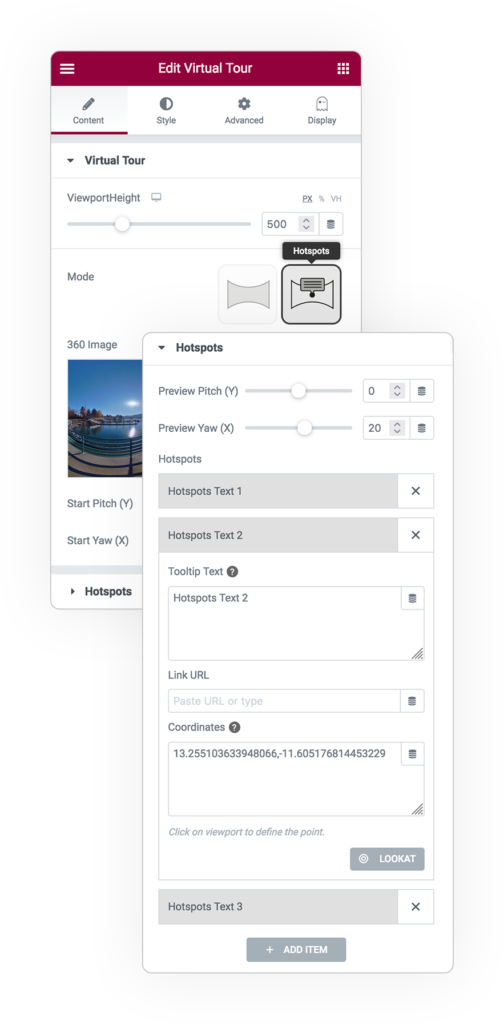
In Hotspots mode, you can apply markers to the scene. These can be:
- A textual Tooltip
- A link to a specific page (but also Elementor popup).
Preview Pitch(x) e Yaw(y) allow you to move around the scene to find the correct point.
LOOKAT anchors the point to the scene for better management.
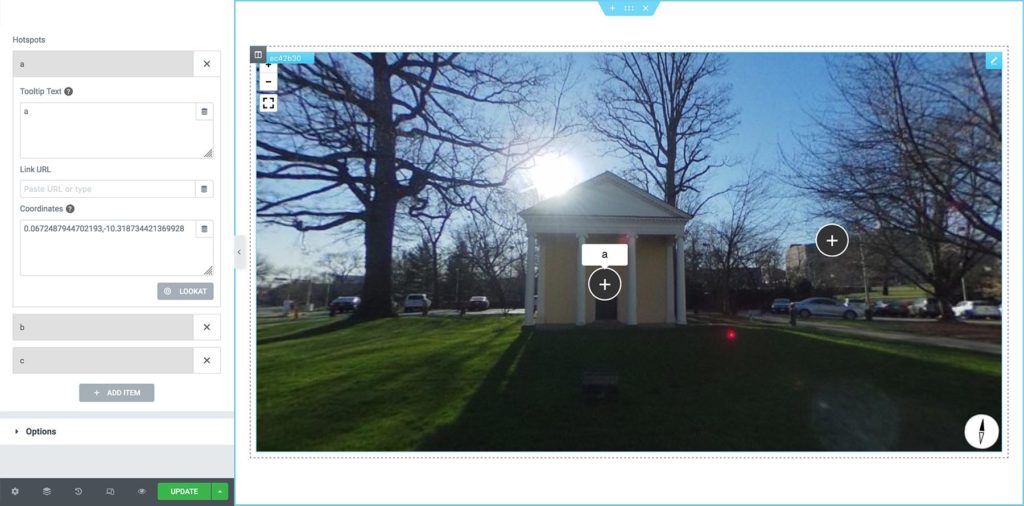
To set the exact point of the hotspot, click on the scene after opening the desired element from the editor.
The “Coordinates” data will be automatically filled in upon click.
Options
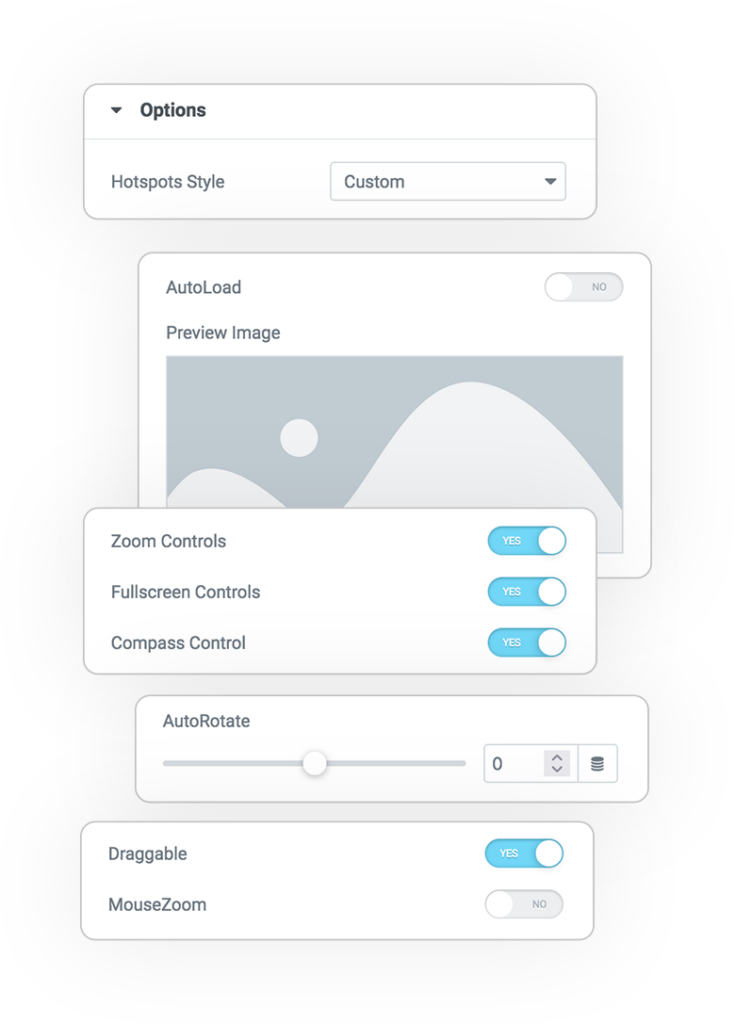
All available options will allow you to configure the interface.
Style
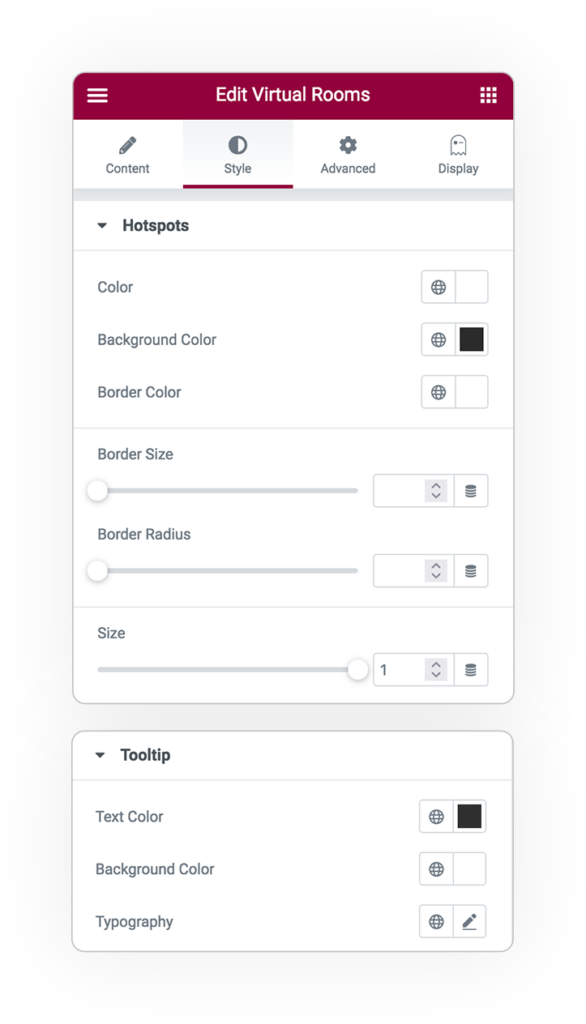
The graphic style of the markers has a default look or can be customized from the STYLE tab.
Autoload
Load the scene immediately, or define a cover image and then click on it to load the scene.
Zoom Control
Enable zoom in the interface (+ -)
Fullscreen Control
Enable the button in the interface.
Compass Control
Indicates the rotation angle of the sphere in the interface
Autorotate
Enable an automatic rotation of the scene, the number is the speed
On/Off settings:
Dragging
Zoom
Styles
Hotspots
The marker style is only available in custom mode.
- The color of the symbol
- The background-color
- The border-color
- The thickness of the border
- The radius around the marker (square or circle)
- The dimension
Tooltip
The text to explain the marker.
- Text Color
- Background-color
- Typography


 e-Creative